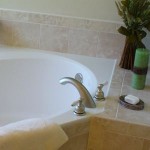
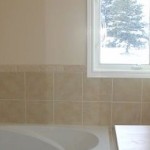
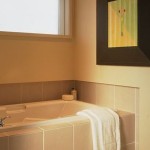
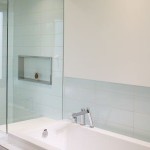
The tile around en-suite roman tubs has to be one of the worst detailed areas in many “builder” type homes. Typically, two or three rows of tile are randomly applied to the drywall above the tub with no clear logic as to the chosen height or how the tile ends. The end result is that the en-suite is very cheap looking, even if an expensive tile is used.
The design lesson to take away from this is that tile always looks best when it ends against an inside corner. In an en-suite with a roman tub, this condition can be created by building out a 2 X 4 wall above the tub so the wall tile has a clean and deliberate drywall edge to stop against. The end result is that the bathtub will have a built in look and will be well integrated with all the adjacent tile surfaces.
Slow Home Studio will return with brand new Design Minutes on January 2, 2012.
Today’s Slides:


-
Monique
-
http://www.thirdstone.ca Louis Pereira
-
Steve in Van


